
Introduction
Welcome to Econo Interiors’ guide on repairing drywall holes! Whether you’re dealing with unsightly screw holes, small dents, or larger gaps, we’ve got you covered. In this blog, we’ll walk you through the step-by-step process of repairing drywall, ensuring a smooth and flawless finish that adds value to your home. Let’s dive into the world of DIY drywall repair!
Repairing Screw Holes
Screw holes are a common issue in drywall, especially in places where fixtures and decorations are frequently hung. Here’s a simple guide to help you fix those pesky screw holes:
a. Gather Your Materials
- Spackle or joint compound
- Putty knife
- Fine-grit sandpaper
b. Clean the Area
Before applying any filler, ensure the hole is clean and free of dust. Use a slightly damp cloth to wipe away any debris.
c. Apply Spackle or Joint Compound
Use a putty knife to evenly spread the spackle or joint compound over the screw hole. Apply it in a thin layer, and make sure to feather the edges to blend with the surrounding wall.
d. Let It Dry
Allow the filler to dry completely. This may take a few hours, depending on the product used. Refer to the manufacturer’s instructions for specific drying times.
e. Sand the Surface
Once dry, sand the patched area with fine-grit sandpaper to create a smooth finish. Wipe away any dust with a clean cloth.
Repairing Small Holes
Small holes can be caused by anything from accidental impacts to nails and screws. Here’s how to patch up those minor imperfections:
a. Gather Your Materials
- Self-adhesive mesh patch
- Joint compound
- Putty knife
- Fine-grit sandpaper
b. Prepare the Hole
Clean the hole and remove any loose debris. Consider trimming the hole into a neat, rectangular, or square opening if the hole is irregularly shaped.
c. Apply the Mesh Patch
Place the self-adhesive mesh patch over the hole, ensuring it covers the entire area. Press it firmly to adhere.
d. Coat with Joint Compound
Use a putty knife to apply a thin layer of joint compound over the mesh patch. Feather the edges to blend with the surrounding wall.
e. Let It Dry and Sand
Allow the joint compound to dry completely, then sand the area to achieve a seamless finish.
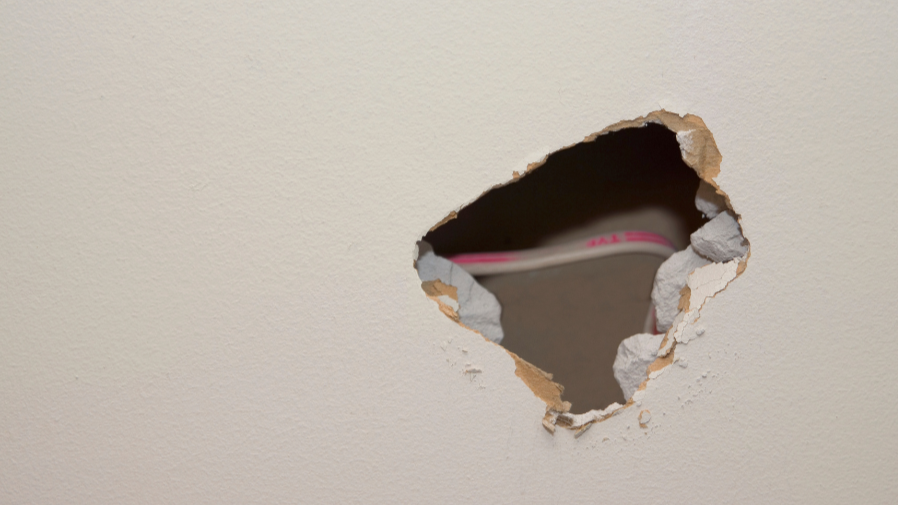
Repairing Large Holes
For those larger holes caused by accidents or renovations, follow this guide to restore your drywall to its original state:
a. Gather Your Materials
- Drywall saw
- Drywall piece or pre-cut patch
- Joint compound
- Self-adhesive mesh patch
- Putty knife
- Fine-grit sandpaper
b. Cut and Prepare the Hole
Use a drywall saw to create a neat, rectangular, or square hole. If needed, cut a piece of drywall or use a pre-cut patch to fit the opening.
c. Attach the Drywall Patch
Secure the patch in place using screws or nails. If using a self-adhesive mesh patch, apply it over the hole.
d. Apply Joint Compound
Use a putty knife to apply joint compound over the patch, feathering the edges to blend with the surrounding wall. Allow it to dry completely.
e. Sand and Finish
Sand the patched area until smooth, wipe away any dust, and you’re ready for painting or final touch-ups.
Conclusion
Congratulations! You can now confidently repair drywall holes of any size. Whether you’re tackling screw holes, small dents, or large gaps, following these steps will help you achieve a professional-looking finish that revitalizes the appearance of your home. Happy repairing!